PRODUCT FEATURES:
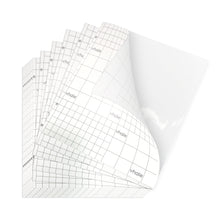
- [SELF-LAMINATE SHEET/ CONTACT PAPER – 100 PACKS] Packaged with 100 packs per set, glossy clear self-adhesive back overlay PVC laminate sheet / contact paper, NO HEAT or LAMINATOR NEEDED.
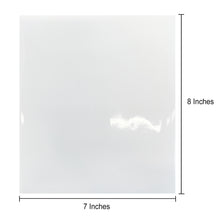
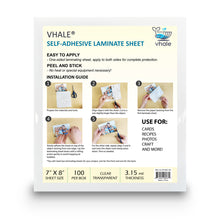
- [COLOR AND SIZE] Color: Glossy Clear Transparent. Size: 7 Inches X 8 Inches. Thickness: 0.08MM / 3.15MIL.
- [FEATURES] Single-sided self-laminate sheet contact paper provides instant, permanent document laminating without heat. Easy to apply, these are a great option for small paper craft projects. Use two or more pieces for larger sized project. Two laminate sheets are required to cover the front and back.
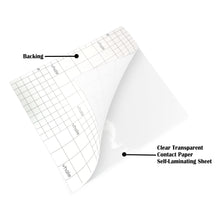
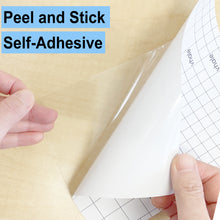
- [BENEFITS] The adhesive-backed self-laminating sheets come with a peelable liner that works just like a sticker. No heat, machine, or equipment necessary, it is a great option to showcase memories.
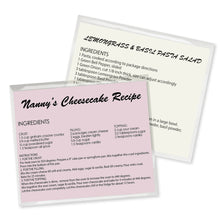
- [USAGE] Easy application, just peel the backing of the first laminating sheet, position your document and seal with a second laminating sheet, placing sticky-sides together. Ideal for photos, teacher supplies for classrooms, book covers and artwork.
The contact paper self-laminating sheet has a sticky back; the laminating sheet is applied by adhesive rather than hot glue, which is ideal for temperature sensitive products and ink. It works like a sticker, and it is convenient and easy to use. The strong adhesive works to most smooth surfaces, providing a durable hold that will last. They are a popular choice for school, home, office projects, and crafts. They also can be used in households as a way of labeling items for organizational purposes. These contact paper self-laminating sheets provide a professional look and high level of protection to artwork, documents, photos, drawings and more. They just work like any regular laminate pouch, they are simple to use for anyone at any business. At 3.15mil thick, the laminate sheet is durable, waterproof, and scratchproof.
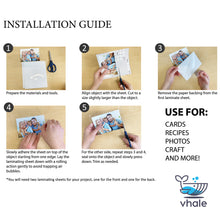
INSTALLATION GUIDE:
1. Prepare the materials and tools.
2. Align object with the sheet. Cut to a size slightly larger than the object.
3. Remove the paper backing from the first laminate sheet.
4. Slowly adhere the sheet on top of the object starting from one edge. Lay the laminating sheet down with a rolling action gently to avoid trapping air bubbles.
5. For the other side, repeat steps 3 and 4, seal onto the object and slowly press down. Trim as needed.
*You will need two laminating sheets for your project, one for the front and one for the back.


